How to Build a DIY Aluminum Pergola Kit
Installing a pergola in your backyard can be a great way to both improve the aesthetic appeal of your yard and provide your family with much-needed shade during the warmer months of the year. By purchasing the easily installable 8' x 8' Decorative Screen Pergola from Fencing Direct, you can take your back patio furniture to the next level without having to spend a fortune on professional building assistance.
Before You Begin
Though Fencing Direct gives its customers detailed instructions on how to set up their pergolas, it is important to be aware that having two to three people assisting you is highly recommended. Furthermore, after purchasing the materials, you want to be sure that there is no damage to each of the pieces. In the case that the pergola materials are damaged, you can contact Fencing Direct or consult the warranty in the box to find information on how to get your materials repaired or replaced.
Another thing you should take into consideration before beginning construction is the location of the pergola. There can be many options for the spatial arrangement of your decorative screen pergola on your property. You can put it up in your yard further from your house for a secluded feel, or you can even position it adjacent to the patio to create an extension of your outdoor living space.
Pergola Base Installation Instructions
- Choose an area with flat solid ground to best support the pergola
- Attach corner brackets to outer rails using screws and washers to hold the rails firmly in place. Attach three of the rails to corner brackets, leaving one side of the square structure open
- After attaching three sides of the outer frame, use supplied screws to secure the mid beams into place
- Attach the remaining outer rail to the structure using the previous steps. Attach remaining mid beams
- Secure the center braces with four screws for each brace in order to finish the top piece of the pergola
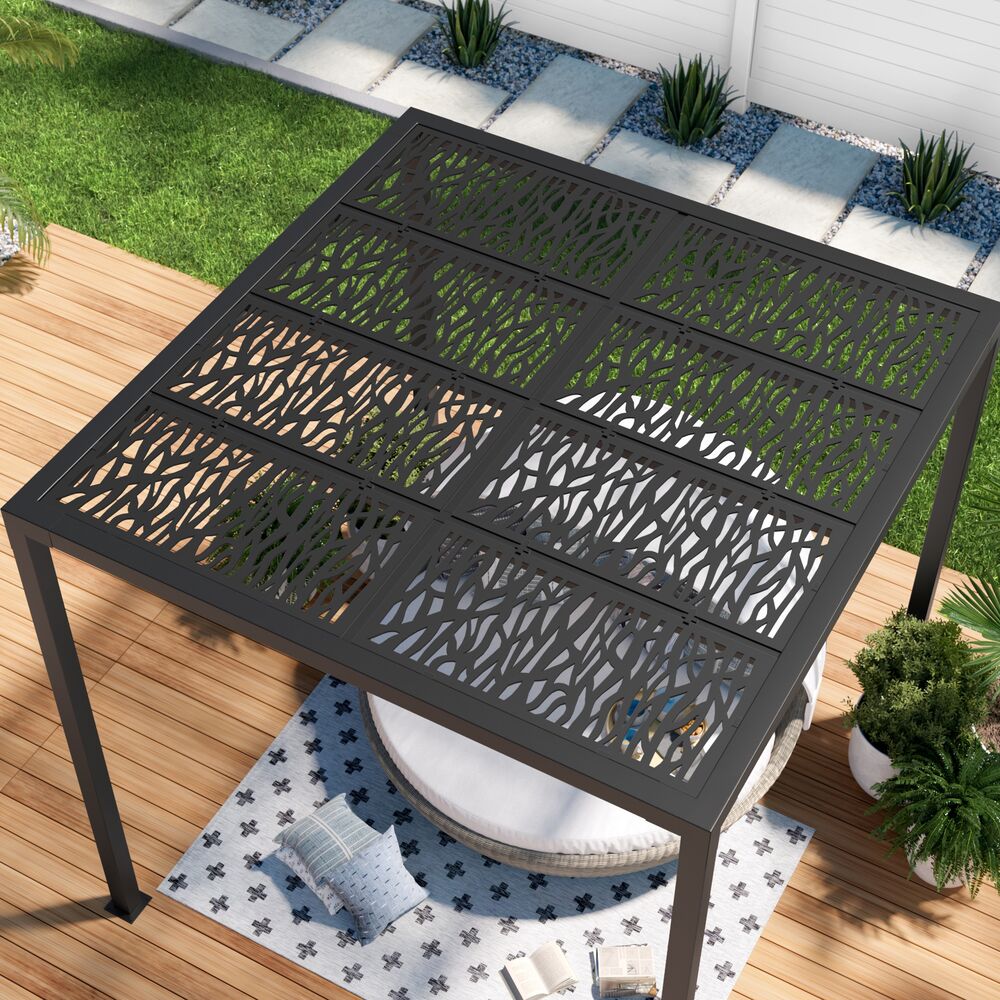
- Insert decorative screen panels that will fit into the rivets created by the finished top piece
- Tilt the completed top piece at an angle to insert two of the side posts properly into the corner brackets
- Insert the final two side posts into the corner brackets
- Secure the posts in the brackets using the final bolts/screws
- Ground the structure to a preferred surface using the proper bolts and washers at the bottom of the corner posts
**Installment Tip: Make sure when you secure all 4 corner posts under the finished top piece that these posts are all equally plumb. This means that you should ensure the corner posts are all completely at a vertical 90-degree angle to give each corner post the same height/level from the ground. If the corner posts are not plumb, then you risk the pergola falling apart due to uneven tensions on the posts that the structure was not intended for.
Pergola Side Wall Installation Instructions
The unique part of this pergola kit from Fencing Direct is the set of side walls that can be installed. These side walls do not only provide further shade and privacy, but they also add to the artistic aspect of your backyard furniture. Another cool part of this pergola kit is the fact that you can choose what height you want to install the side walls at.
Once you are done putting together the top portion and corner posts of the pergola, following a few simple steps you can easily install the side walls to complete the pergola.
- Choose the height you want to secure the side walls at. Remember, you can only install the side pieces to the shorter sides of the pergola, not the longer ones
- With the opening of the bottom rail facing up, secure the rail to side brackets using the small attachment screws
- Insert the decorative wall panels into the U-channel bottom rails with an H-channel in the middle of these panels
- Attach small side brackets to both sides of the H-channel piece using the small attachment screws
- With small attachment screws, you can secure the H-channel over the decorative panels. This will allow you to attach the other two decorative panels above the originally placed decorative panels to create the four-piece side wall structure
- Repeat previous steps to secure the top U-channel piece of the decorative panels to the corner posts of your pergola.
Post-Construction Tips and Care
After finishing the installment of your new aluminum-framed pergola from Fencing Direct, there are many ways you can utilize the new outdoor space. Many families will often add comfortable outdoor furniture to create a space where they can spend quality time after a long and busy day. Another way to use this new space is by creating an inspiring environment for exercise or self-care. Throw down a yoga mat and some weights if you want a secluded area to work out that is separate from the rest of your yard. Granted it is not too hot outside in the evening, you can also add some string lights to your pergola to really bring the space together and create a welcoming mood for any guests or extended family.
To get the most out of your self-constructed accomplishment, it is not necessary to clean your aluminum pergola extensively. Because of the nature of the material, a quick hose down with water and detergent of your choice will suffice. Though the upkeep is relatively simple, it may be necessary to bring your pergola under a covered surface during the winter months if the region you live in experiences heavy snowfall.
By purchasing the decorative screen pergola from Fencing Direct, you can be sure that you will receive the support necessary to complete your newest backyard project. With detailed instructions on how to install each part of the pergola, pieces in the kit that are specifically labeled to correlate with the instructions, and a warranty for each pergola purchased, you will undoubtedly be able to install your pergola in a true DIY fashion.
