Fencing Direct’s aluminum fences are versatile, high-quality, and customizable.
We offer supplies for the following Aluminum Fences:
Clearfield Black Aluminum Fence
Puppy Picket Aluminum Fence - Black
Tioga Black Pool Code Aluminum Fence
Huntington Black Aluminum Fence
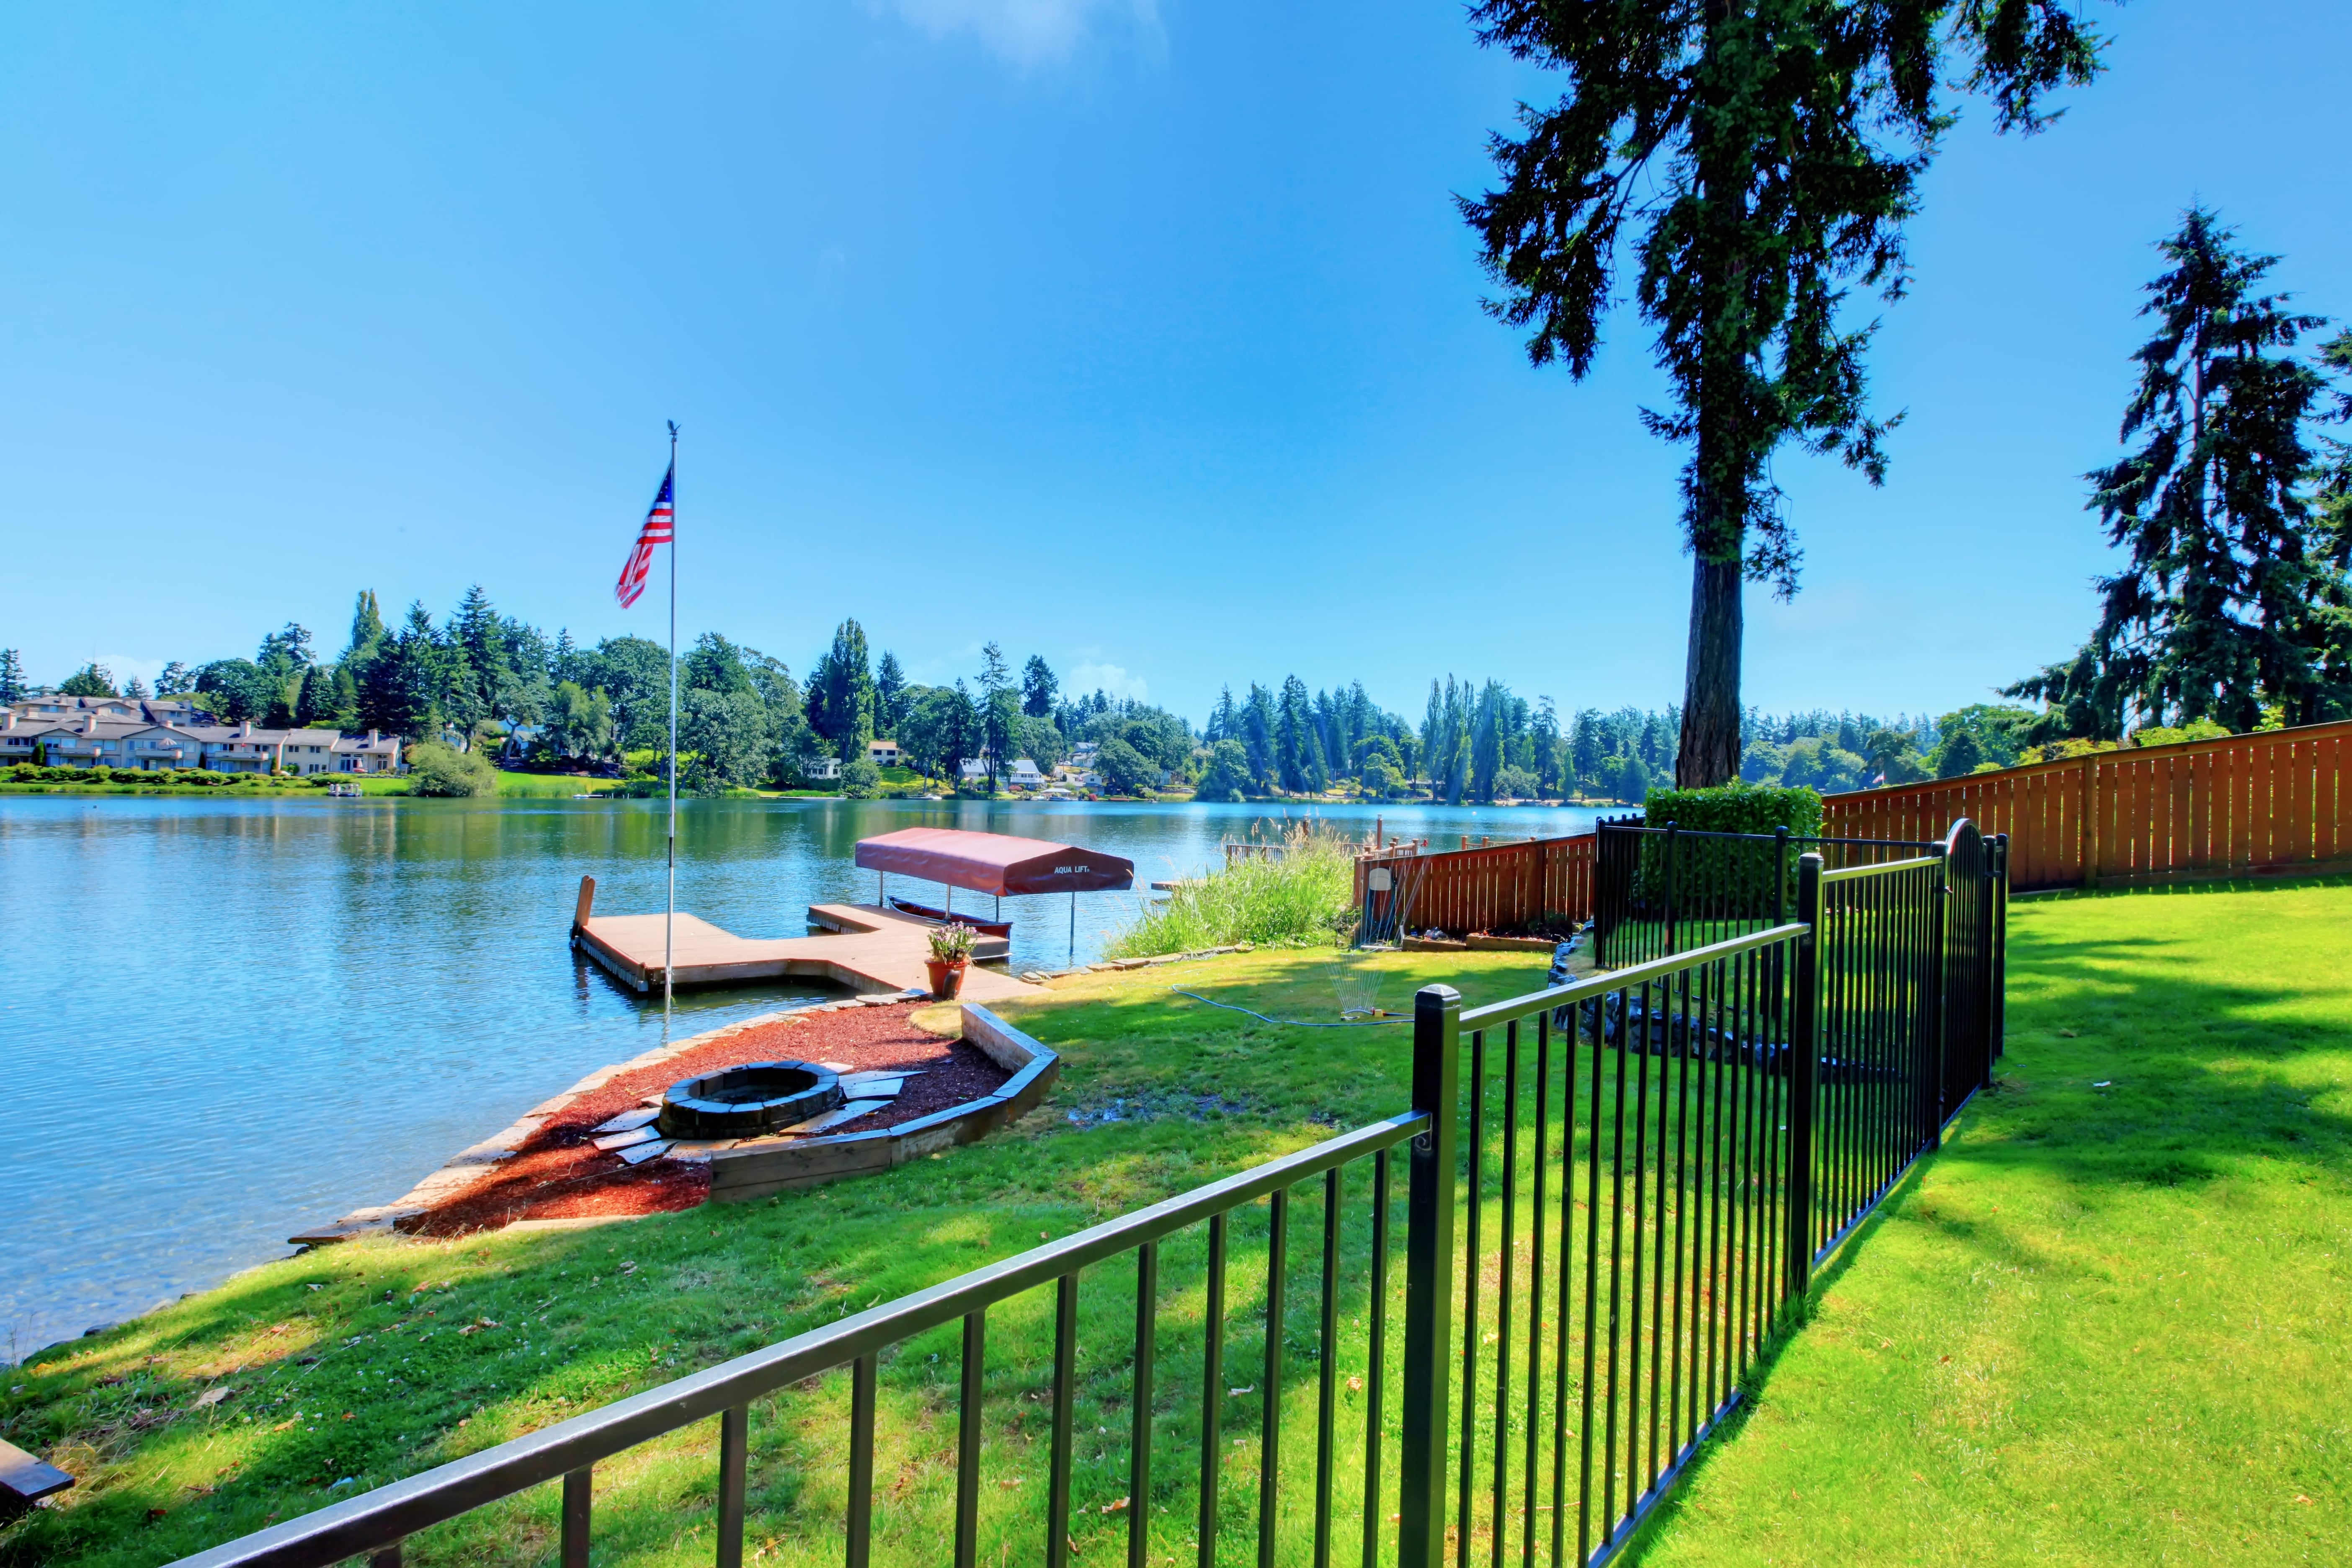
Our Aluminum Fences are a highly durable, stylish option.
So, you have received your Fencing Direct supplies and now you are ready to begin installing your new aluminum fence. Before you begin assembling your kit and barreling forward with the installation process, we recommend reading our building guide below. This guide will show you step-by-step how to install your Fencing Direct aluminum fence and inform you of all the necessary installation and precautionary steps you need to be aware of.
BEFORE YOU BEGIN:
Check your local zoning laws.
Local zoning laws and Home Owners Associations may regulate the location, style and height of your fence or even require a permit signoff beforehand.
Check local codes for frost line depth and regulations.
Contact your local utilities companies.
You must have the utility companies clearly mark your property for electrical, gas or water lines to avoid puncturing any unseen underground utilities.
TOOLS NEEDED:
- Strings & Stakes
- Tape Measure
- Post Hole Dagger
- Shovel
- Level
- Hacksaw
- Rubber Mallet
- Gravel/Filler (6” per hole)
- Concrete Mix
- Safety Glasses
FENCING COMPONENTS:
- Top Rail
- GrippLok Locking Strips
- Middle Rail
- Bottom Rail
- Pickets
Layout Installation:
Establish your fence line by staking out the areas you wish to enclose. Locate each point in which you will need an end, corner, or a gate post and mark it with a stake.
For 6’ sections using 2” posts: measure 72 ¾” from the center of an endpoint and mark it with a stake.
NOTE: Installing on a sloped terrain will reduce the distance between posts.
If you are left with space less than a full panel, the panel can be cut down to fit the space by using a hacksaw. “Notch” the cut ends of the horizontal rails so they will sit inside of the post.
Attach the string to each stake to provide straight guidelines.
Plan the gate placement, opening, and hardware clearance before installing the fence.
Post Top Installation:
Use a rubber mallet to gently drive the post tops onto the posts (sold separately). Be careful not to damage the post top.
Post Location:
Measure the width of the fence panel (X) plus the width of the post (Y). This is the common center-to-center measurement (unless there is a cut-down panel) for post hole location.
Post Installation:
Dig the first two post holes 6" in diameter and down to your specified frost line. Insert the filler/gravel into the bottom of both holes and then set the first post in the post hole.
Add wet or dry concrete mix according to the manufacturer’s instruction to the top of the hole for the first post only and level it.
Example: When your frost line is 36" insert 12" of gravel/filler and 24" of the post with the concrete surrounding.
Gate Installation
The opening between the posts should be 1 ½” wider than the gate to allow for the hinges. (Example: Use a 48” opening for 46 ½” wide gate). Be sure the posts are level and plumb.
Panel/Post Installation
As the post is setting up, install the first fence panel. Insert the horizontal rails from the panel into the punched holes from the previously installed post. Place the rails as far into the post as they will go.
Place the next required post into the dug hole, and slide the post onto the rails of the panel as far as possible. Plumb and level the post and add concrete according to the manufacturer’s instructions.
After setting the first fence section, proceed systematically with the post, panel, post, etc.
After the concrete has been set, fasten the fence section to the posts using #8 x 1” self-tapping screws.
IMPORTANT: Be careful not to over-tighten screws.
Benefits of Aluminum Fencing
Aluminum fencing is a stylish and highly durable option for homeowners. Aluminum fences define the yard without obstructing the view. We have aluminum fences for every occasion and location: we have fences suited for pools, yards, public property, and more. Our customizable aluminum fences will allow you to tailor the fence to your needs and design preferences. They look professional, clean, and beautiful -- and they’re even low maintenance, requiring very little work on your part.
We have a wide selection of heights and style options. You can choose from a variety of colors and even choose a powder coating to match the surroundings or your home.
We also offer extra-sturdy fences; you may choose panels with four rails for extra stability.
And don’t worry if you have an odd area to fence; Fencing Direct aluminum fences are made to be cut to fit any size area large or small.
Want to personalize your fence? We offer fences with pickets made for attaching toppers (also known as finials). We even have a selection of these decorations you can order directly from us to complete the look of your yard.
Aluminum fences are weather-resistant, meaning that they can survive rain and wind without too much damage. Aluminum fences, unlike other fences, don’t require repainting or recoating every year. The coating is strong and will stay looking bright and clean for years.
