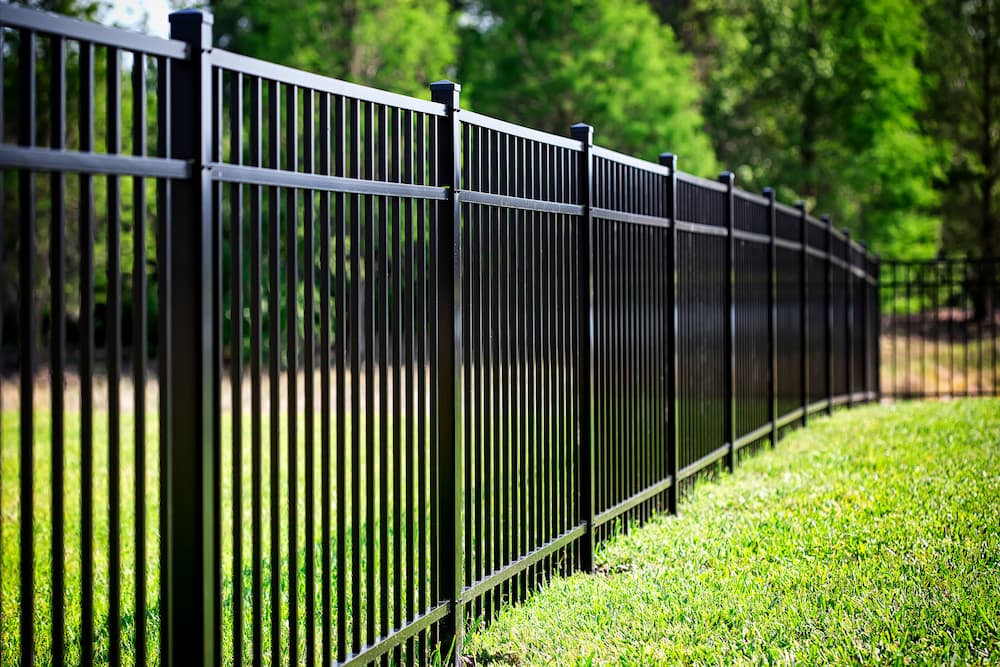
A DIY Aluminum Fence: Stylish, Durable, and Easy to Install
Installing an aluminum fence is a great DIY project to add security and style to your yard. Aluminum fences are rust-resistant, low-maintenance, and versatile enough to complement any home style, from modern to classic. They also enhance your property's value and curb appeal. This guide provides general suggestions for installing an aluminum fence; please refer to our general resource page for the manufacturer’s guide for complete instructions. With proper preparation, tools, and instructions, you can install a fence that lasts for years.
Why Choose a DIY Aluminum Fence Installation?
DIY aluminum fence installation offers significant cost savings and a sense of accomplishment. By doing the project yourself, you eliminate expensive labor fees and gain full control over your fence design and layout. Aluminum fencing is long-lasting and requires minimal upkeep, making it a perfect choice for a DIY project. Proper planning and having the right tools are essential for success.
What You'll Need: Tools & Materials
Preparation is key. Having all the necessary tools and materials ready will speed up the process and make the project much smoother.
Tools:
- Post hole digger or gas auger (Tip: Many local communities have machinery rentals; most people end up renting this tool for easier digging)
- Level and/or post level
- Tape measure
- String line
- Wooden stakes
- Circular saw with carbide blade
- Rubber mallet
- Tamping bar
- Drill
Materials:
- Fencing Direct aluminum fence
- Concrete mix
- Gravel
- Safety gear (glasses, gloves, closed toed shoes, etc.)
Be sure to watch Fencing Direct’s video tutorial to see the tools in action and get a visual guide for the installation process.
Step-by-Step DIY Aluminum Fence Installation Guide
Step 1: Planning and Layout
Before starting your installation:
- Check local building codes and obtain any necessary permits.
- Have power and cable lines marked by your local utility service.
- Locate property pins and mark corners and ends. If pins are missing, consider an updated survey.
Run a string line around the fence perimeter. This keeps posts aligned and helps with hole placement. For the best results, install the fence just inside your property lines.
Approximate time: 1–2 hours
Step 2: Digging the Post Holes
- Measure distances for post placement. Posts are typically spaced every 6 feet center of post to center of post.
- If the fence run isn’t divisible by 6 feet, shorter sections will go at the ends or corners.
- Plan gate locations now. Gate posts must be positioned carefully on level ground, as gates are difficult to adjust later.
- Begin with your first end post at the house and work around the perimeter.
Approximate time: 2–4 hours
Step 3: Installing the Posts
- Dig holes 24–36 inches deep depending on fence height and post length, about 8 inches in diameter.
- Small projects can use hand post diggers; larger projects benefit from a gas-powered auger rental.
- Add a few inches of gravel to the bottom of the post hole for drainage.
- Carefully place the post into the hole, making sure it is plumbed and positioned at the correct height.
- Once the post is properly aligned, use the dry-pack method by pouring dry concrete mix directly into the hole around the post and packing it tightly. This allows the post to stand securely on its own while still giving you enough flexibility to install the panel rails or adjust the post if minor corrections are needed.
- Important: Do not add water before the panels are installed. Adding water too early can prevent the panel rails from fitting into the post. Water should only be added after all panels are in place, and the entire fence line is properly plumbed.
- Take time to make sure that you don’t mix up your standard end posts with your heavy-duty gate posts.
Approximate time: 2–3 hours
Step 4: Installing the Fence
Starting with your first end post, slide the aluminum panel’s rails into the pre-punched holes in the posts and then slide the panel into the next post.Continue this process until all panels are installed. Always double-check measurements before cutting your panels to a shorter width. Remember to leave enough length on the side of the panel you’re cutting so the rails can still be installed inside of the post.
Approximate time: 2–6 hours
Step 5: Securing Panels and Gates
- Use a level to plumb the posts and adjust as needed.
- Fasten the panels to the posts with screws.
- With the framed gate opening, level the gate panel, then hang hinges on the side that has the thicker post if you are not using thicker posts for both sides, and attach the latch on the other. Remember to set your hinges to the opening direction you desire before installing them on the gate panel.
- Use a level to plumb the gate and adjust as needed.
- Backfill gaps with soil or concrete, clean tools, and sweep the area.
- If you don’t have a high-water table, wet your dry packed posts for them to fully set.
- Finish by adding post caps.
Approximate time: 1 - 6 hours
The Fencing Direct Advantage
Fencing Direct provides high-quality aluminum fencing and DIY installation at a lower cost than traditional suppliers. Our team is ready to support you with guidance and resources. DIY aluminum fencing lets you customize your yard, gain valuable skills, and enjoy a long-lasting, beautiful fence. Please remember: this guide provides general suggestions only. Always refer to our general retail page and the manufacturer’s guide for full instructions and safety information. Browse our products and contact us to get expert help whenever you need it.
Image Source: Genotar/Shutterstock
