Vinyl fencing has never been more in demand than it is today. Its sleek design and unmatched utility make it a desirable option for the modern buyer. Before you can impress your friends and neighbors, all that’s required is a bit of set up and a little elbow grease.
- Mark your territory
Before you start any fencing, prepare the ground for the fence by clearing the area of any obstacles and checking for any underground lines through 811.
Now, like the old saying goes- measure twice, cut once. You’ll want to make sure you’re exact in your measurements before you start. Mark the location of your fence using string and line stakes as demonstrated in the photo below.
Don’t forget the devil is in the details. Plan gate placement, opening and hardware clearance before installing fencing.

- Place your posts
In order to figure out where to place your posts, measure the width of the fence panel plus the width of the post. The post will be centered at this point.
Now that you know where the posts should be, start digging. Dig holes at these first two points. The depth of these holes will be determined by your local frost line plus six inches for filler. To determine your local frost line, call your water department. If they don’t know, call a plumber in your region, as knowing the frost line is critical for plumbers.
The diameter of the hole will be twice that of the post size- for example, you will dig a 10’’ hole for a 5’’ x 5’’ post.
We recommend that you dig enough holes to install a few sections of fence at a time.
- Set the posts
Once you’ve dug your holes, insert six inches of gravel or filler, and then set your posts into the holes, ensuring they are level.
Fill just the first hole with concrete mix up to ground level. Make sure your post remains level with 72 inches above ground. Once you have your first fence section set, move forward by setting post, panel, post, and so forth.
- Aluminum Inset
You may have an aluminum insert included in your kit. If so, place the insert into the bottom rail of the posts, then insert bottom rail into bottom post route hole of first post only.
- Before you add the boards to the posts, attach U-channels to two end boards. Attach “tongue” side to the first board, and “groove” side to the last board.
- Now it’s time to install the panels: insert the boards into the bottom rail, starting from the first post and working towards the second. Make sure there are U-channels on both ends.
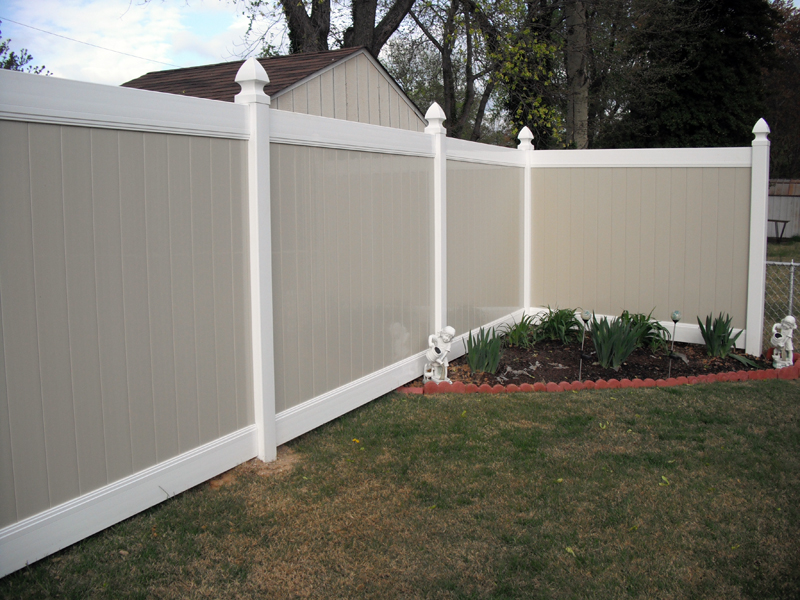
- Now you have the basic fence structure, you have several options from here. You may have full privacy panels, a lattice, closed, or open top. Whether you’re looking for safety, privacy, or openness, with so many different options, you are sure to find a fence to fit your needs.
If you have full privacy panels: Full privacy panels provide security in style.
Place the top rail into the top hole and guide over the boards.
If you have lattice top panels: The lattice top allows for both privacy and light with a classic look.
Place the lattice into the middle rail, then add the top rail. Then add those joined pieces into the top route holes on the posts.
If you have closed top panels: The closed top panel allows for a balance between openness and solitude.
First you will insert the pickets into the middle rail, then add the top rail over the pickets and put the whole assembly into the route holes of the first post.
If you have open top panels: Like the closed top panel, this option allows for a perfect balance between privacy and air-flow.
Start by attaching the middle rail and then the top rail into the left side of the post, and then guide over the boards. Then you will insert the pickets through the rails.
If you have arched or scalloped panels, the pickets will be numbered. Start from the left side with number one first.
- Adding sections
Once you have a completed fence panel, insert the panel into the route holes of the second post. Then ensure the post is level and set with concrete as the first post.
- Now that you have a full panel set, all that is left is to add the post tops with glue. Then just repeat the process for every panel, and you’re done!
In less than ten easy steps, you have a beautiful fence that you will appreciate for years to come! I bet that was easier than you thought.
There are some common mistakes you’ll want to avoid. Ensure your post holes are deep enough. An auger is a helpful tool for this task. You will also want to check that the fence panels are square, which can be done using the 3-4-5 triangle method. Another common mistake is not accounting for slope, which can be done by stepping or racking the boards. Fortunately, these are easily fixable issues, especially if they are anticipated as challenges.
The benefits of vinyl fencing extend beyond the ease of installation. Vinyl fencing is rot resistant, low-maintenance, and stylish. Unlike wood or metal, it is weather resistant so it is sensible for outdoor wear and tear. It won’t peel, flake, corrode, rot, rust or attract termites. It is even tested to withstand the strongest winds with the proper supports.
Beyond utility, vinyl fencing comes in many different styles and colors, and with a variety of accessories, such as walk and drive gates, solar lights, or stylish toppers. Whether you’re looking to fence in a dog lawn, secure a pool, or provide privacy for your front yard, vinyl fencing will meet the needs of any design or budget.
Vinyl fencing can also increase home value as buyers will love the timeless look and durability. With all of these factors in mind, vinyl fencing is an excellent bang for your buck- don’t wait any longer to get started!
